반응형
요즘 괜찮다는 앱들은 사용자 편의를 위해 다크 모드를 제공하고 있습니다.
Flutter에서는 다크모드를 어떻게 사용할수 있는지 알아보도록 하겠습니다.
샘플은 Flutter 프로젝트 생성시 자동은 생성되는 기본 코드에 작업을 하였습니다.
1. MyApp 클래스(main.dart) 에 앱 전역에서 사용할수 있도록 static으로 ValueNotifier로 선언하여, light / dart 테마로 변경시에 이벤트를 받을수 있도록 해줍니다.
class MyApp extends StatelessWidget {
  const MyApp({Key? key}) : super(key: key);

  static final ValueNotifier<ThemeMode> themeNotifier =
      ValueNotifier(ThemeMode.light);

  @override
  Widget build(BuildContext context) {
    return ValueListenableBuilder<ThemeMode>(
      valueListenable: themeNotifier,
      builder: (_, ThemeMode currentMode, __) {
        return MaterialApp(
          ...
          darkTheme: ThemeData.dark(),
          themeMode: currentMode,
          ...
        );
      },
    );
  }
}
build() 함수에서 ValueListenableBuilder 를 통해서 themeNotifier 값이 변경되는 이벤트를 받아서 light / dart 테마를 앱에 적용시킵니다.
2. appBar 에 현재 테마의 아이콘 버튼을 표시하고, 하당 버튼을 눌렀을 라이트 / 다크 모드가 토글이 되도록 구현합니다.
class _MyHomePageState extends State<MyHomePage> {

  ...

  @override
  Widget build(BuildContext context) {
    return Scaffold(
      appBar: AppBar(
        title: Text(widget.title),
        actions: [
          IconButton(
              onPressed: () {
                MyApp.themeNotifier.value =
                    MyApp.themeNotifier.value == ThemeMode.light
                        ? ThemeMode.dark
                        : ThemeMode.light;
              },
              icon: Icon(MyApp.themeNotifier.value == ThemeMode.light
                  ? Icons.dark_mode
                  : Icons.light_mode))
        ],
      ),
      ...
}
appBar의 actions에 IconButton Widget을 추가하고 테마 상태(thememNotifier.value)에 따라, 표시되는 아이콘의 종류와 클릭했을때의 동작을 알맞게 구현합니다.
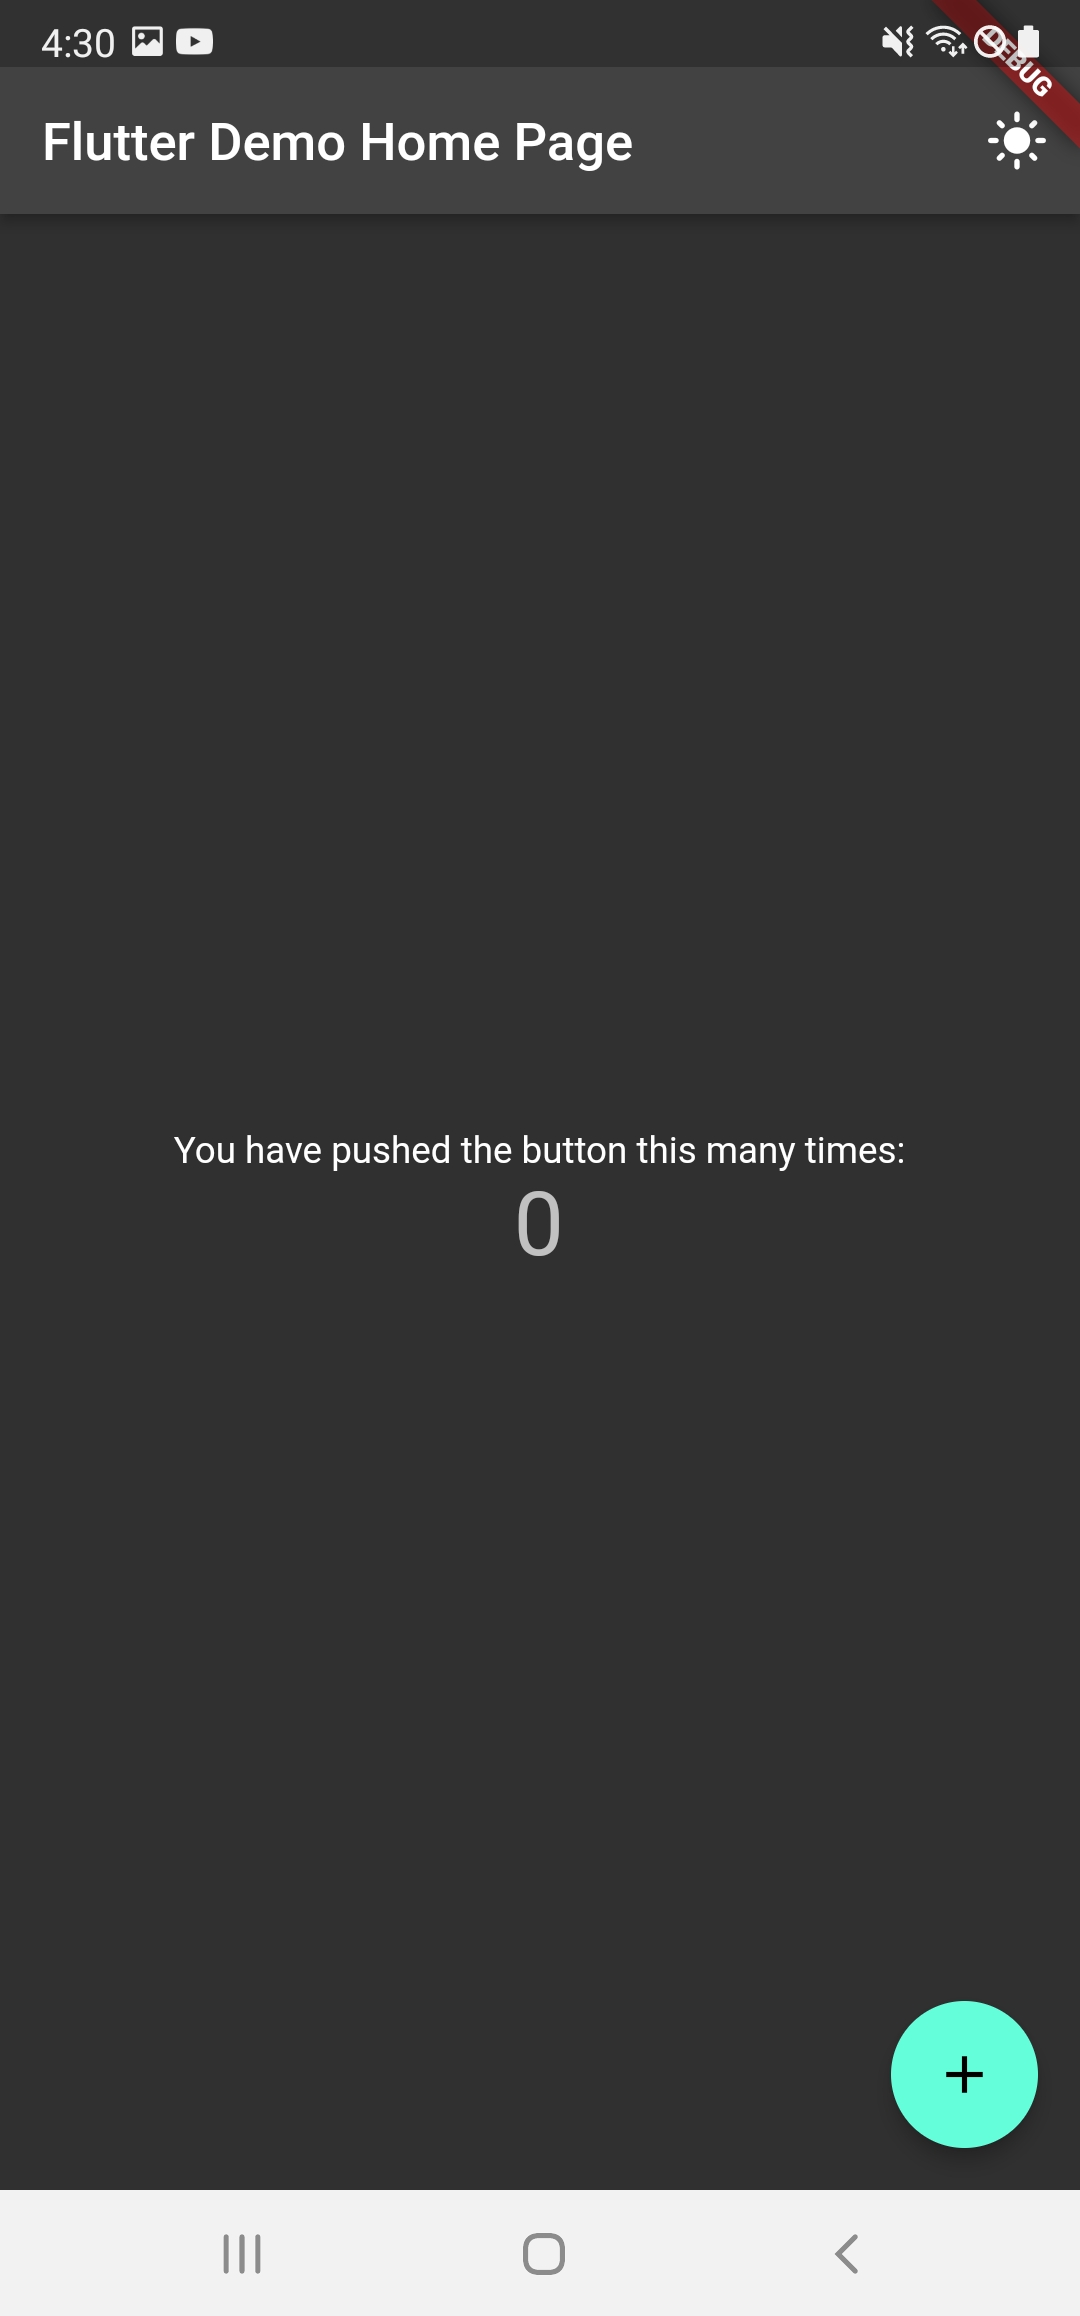
그리고, 살행하면 아래와 같은 화면이 실행되면, appBar 오른쪽 상단 달님? 아이콘을 누르시면 다크 모드로 변경이되는 걸 보실수 있으실 거예요.

다시 햇님? 아이콘을 누르면 라이트 모드로 변경됩니다.
이상 라이트 / 다크 모드 구현에 대해 간단하게 알아보았습니다.

반응형
'Flutter' 카테고리의 다른 글
| [Flutter Dev] Theme 를 이용한 텍스트 스타일과 폰트 적용하기 (0) | 2022.01.31 |
|---|---|
| [Flutter Dev] 애니메이션 Splash / Intro 화면 전환 만들기 - AnimatedSwitcher (0) | 2022.01.29 |
| [Flutter Dev] 디버깅을 위한 logger 를 사용해보자. (0) | 2022.01.24 |
| [Flutter Dev] 로컬 / 네트워크 이미지 화면에 표시하기 (0) | 2022.01.19 |
| [Flutter] Flutter에서 SVG 이미지 사용하기 (0) | 2022.01.17 |


